

Measurement & marking out
Tools
Graduated steel rule
Used for measuring lengths to a moderate degree of accuracy. Graduations on the ruler are usually millimetres and half millimetres. To be accurate, the rule must be in good condition with flat, straight and true edges.
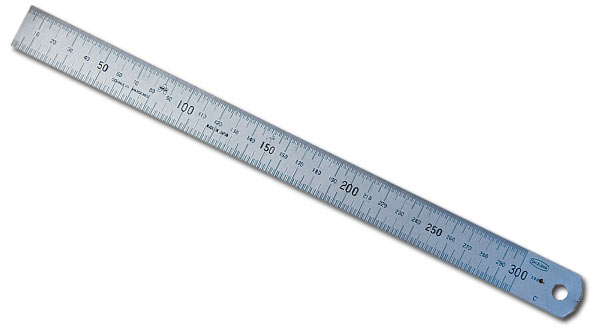
Steel ruler
Practical uses:
- guide to scribe or draw a straight line
- straight edge to test the accuracy of a flat surface
- scale for setting dividers and other marking tools.
Engineers square
Consists of a metal blade set at 90 degrees to a solid metal block (the stock).
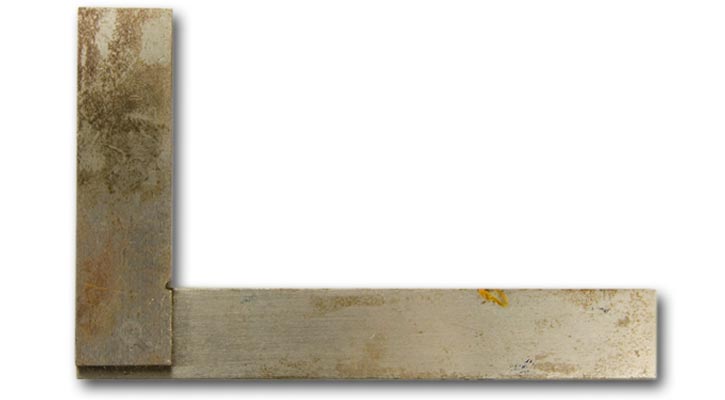
Engineers square
Practical uses:
- to guide a scriber when marking out lines at right-angles to the edge of work
- guide to setting up or checking work for square.
Combination square
Consists of a blade and moveable square head (including spirit level and 45 degree bevel).

Combination square
Practical uses:
Square head and blade for:
- depth gauge
- height gauge
- checking for level
- checking or marking out square
- marking out 45 degree angles.
Scriber
Made from hardened steel with sharp points at each end. Lines drawn with a scribe are far more accurate than a line drawn with a pencil or pen.
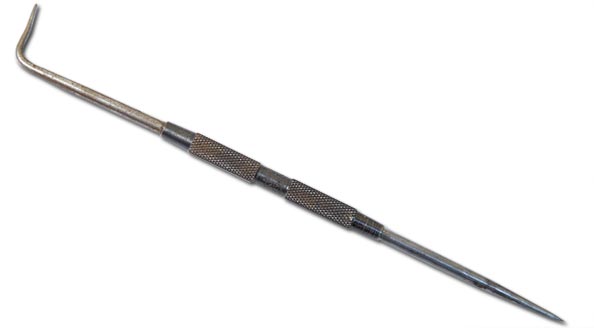
Scriber
Practical uses:
- to make sharp, clearly defined lines on metal.
Using a scribe:
- Hold the straight edge (steel rule, square, etc) firmly in the required position.
- Incline the scriber away from the straight edge to bring the sharp tip as close to the straight edge as possible.
- Incline the scriber slightly toward you in the direction of the stroke.
- Draw the scriber toward you in one firm stroke.
Centre punch
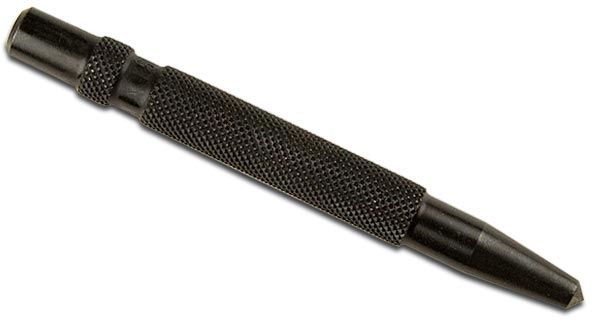
Centre punch
Practical uses:
- locating a centre position to start a drill point cutting accurately in that position
- iIndenting a centre position for scribing arcs or circles.
Note: A prick punch, a sharper pointer version of a centre punch, can be used to make light (witness) marks on scribed lines. This makes it easier to:
- see marking outlines
- check the accuracy of centre positions before centre punching
- locate the pivot points of dividers for scribing circles of arcs.
Dividers
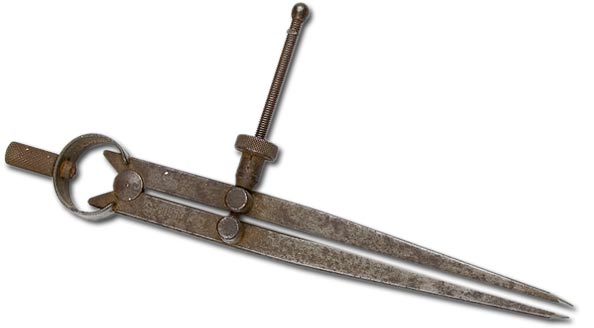
Dividers
Practical uses:
- transferring measurements from a ruler or drawing onto a piece of material
- scribing circles and arcs.
To scribe an arc:
- Lightly centre-punch the centre of the circle or arc.
- Hold the knurled stem on top with your thumb and forefinger.
- Place one point in the punch mark.
- Keep a balanced downward pressure on both legs.
- Twist the stem while you incline the dividers slightly in the direction of twist to draw the moving leg around in an arc.
Marking or scratch gauge
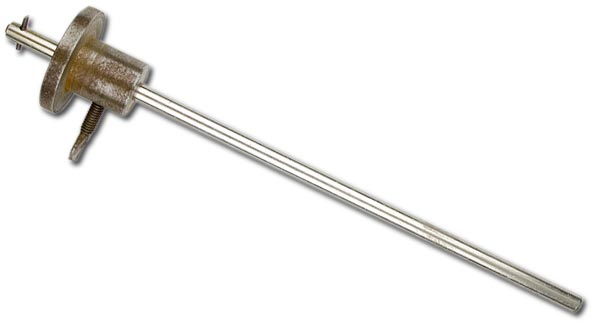
Marking gauge
Practical uses:
- to set distances from an edge or shoulder
- marking out lines parallel to an edge.
Using a marking gauge:
- Loosen the lock screw on the headstock.
- Hold the headstock with one hand against the end of the rule.
- Move the scriber point to the required graduation on the rule.
- Lock the screw on the headstock.
- Hold the headstock against the reference edge of the material.
- Draw the gauge along the edge to scribe a parallel line.